|
|
| Line 4: |
Line 4: |
|
| |
|
|
| |
|
| =Overview= <!--T:42--> | | =General= |
|
| |
|
| <!--T:43--> | | <!--T:43--> |
| Line 19: |
Line 19: |
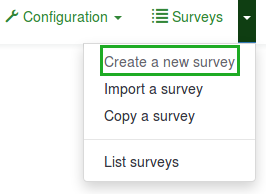
| A survey list will be shown. To create a new survey, click on the '''Create a new survey button''' located in the top-left part of the window, above the survey list. | | A survey list will be shown. To create a new survey, click on the '''Create a new survey button''' located in the top-left part of the window, above the survey list. |
|
| |
|
| <center>[[File:Surveys-alternative button.png]]</center> | | <center>[[File:Create a new survey alternative.png]]</center> |
|
| |
|
| <!--T:45--> | | <!--T:45--> |
| Line 28: |
Line 28: |
|
| |
|
| <!--T:47--> | | <!--T:47--> |
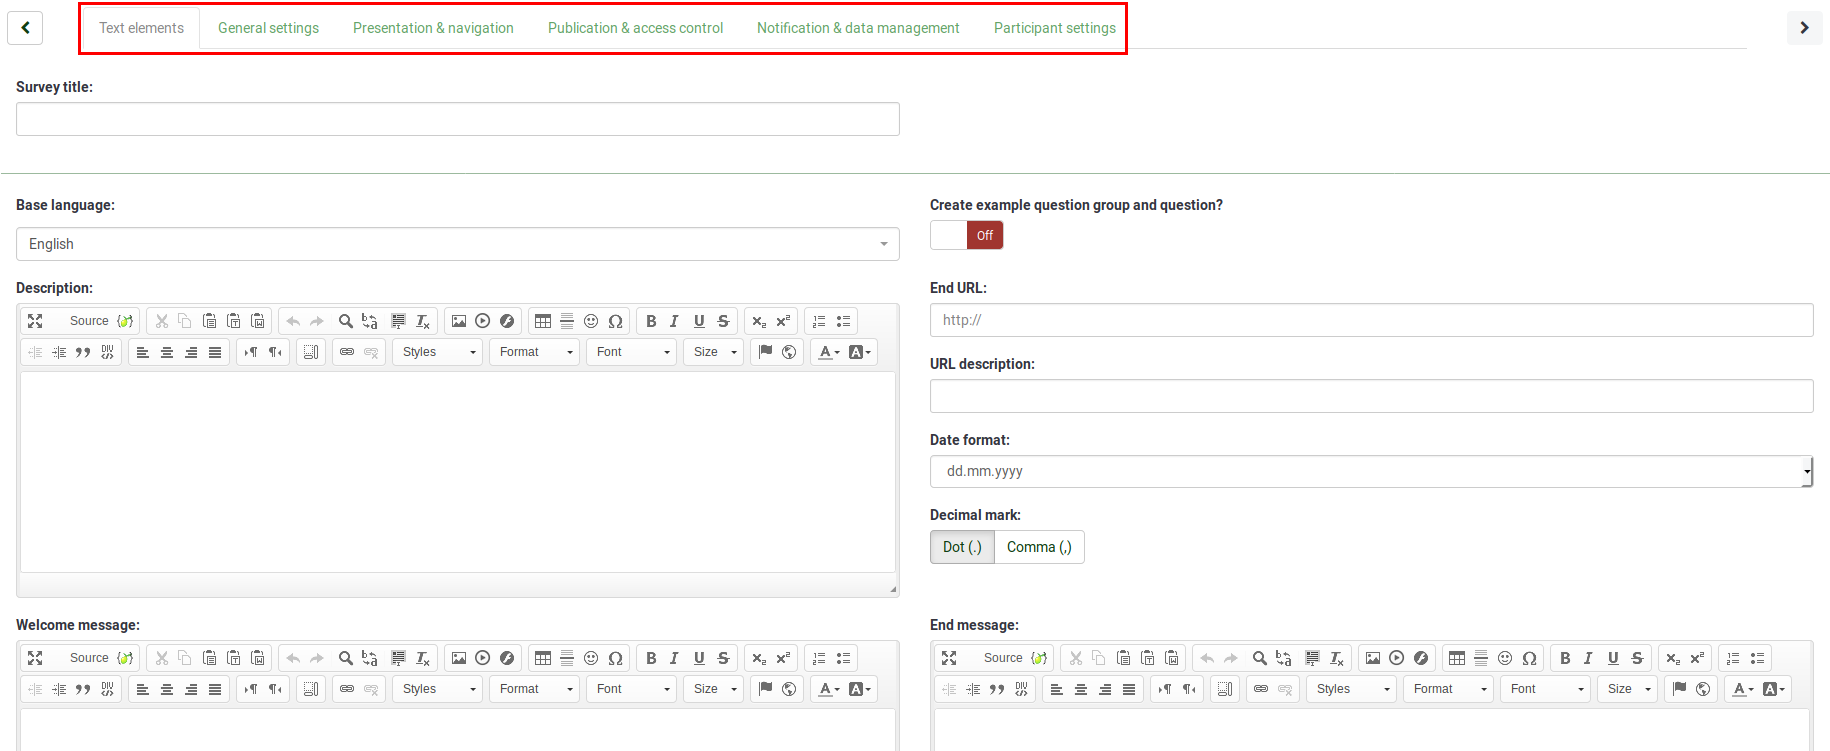
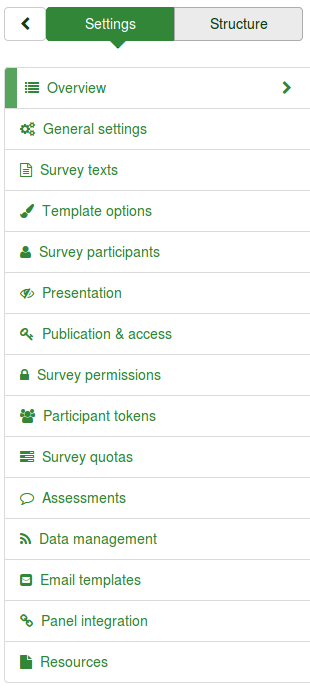
| You can edit most of these settings later again by clicking the '''Survey properties''' and then '''General settings & text'''. | | You can edit most of these settings later again by accessing the available options located in the settings menu of the newly created survey. |
|
| |
|
| <!--T:48--> | | <!--T:48--> |
| [[File:token_manage_30.png]] | | [[File:token_manage_30.png]] |
|
| |
|
| =Video tutorials= <!--T:2--> | | =Surveys= |
| | |
| <!--T:3-->
| |
| There are a number of tutorial videos for LimeSurvey out there. This is a list of the ones we think that are the best. You are welcome to create a new tutorial and add it here.
| |
| *[[LimeSurvey Video-Tutorial|Tutorial A]] - this video tutorial was made available to us by Andreas Pursche ([http://www.paul-consultants.de/ PAUL Consultants e.V.] of University of Technology Dresden).
| |
| *[http://www.youtube.com/watch?v=KWE0wAoyvak Tutorial 'How to get started - a first survey' ] - this one is really nice and available on YouTube and should be viewed in HD
| |
| *[http://youtu.be/Uk3FQyDTIY0 LimeSurvey training video - template customization] - A very good introduction on how to customize a Limesurvey template
| |
| | |
| =Sample Surveys= <!--T:4-->
| |
| | |
| <!--T:5-->
| |
| One easy way to learn LimeSurvey is to experiment with working surveys. Here are a [[Expression Manager Sample Surveys|dozen surveys]] that demonstrate all of the key features, including the new (1.92+ and above) [[Expression Manager|Expression Manager]]-based functionality for relevance-based navigation/branching; tailoring/piping/reporting; and validation.
| |
| | |
| <!--T:6-->
| |
| We also provide [[Expression Manager HowTos|How To]] and [[Expression Manager Examples|Examples ]]pages to help orient users to Expression Manager.
| |
| | |
| <!--T:7-->
| |
| Simply import those surveys into your installation (or into the [http://www.limesurvey.org/en/demo public LimeSurvey demo]), and test the survey. One of the easiest ways to review the survey logic is via the new [[Show Logic File|Show Survey Logic]] feature.
| |
| | |
| =Basic survey elements= <!--T:8-->
| |
| | |
| <!--T:9-->
| |
| A '''survey''' has three integral elements, each of which must exist:
| |
| *A survey name
| |
| *At least one group
| |
| *At least one [[Question types|question]]
| |
| | |
| <!--T:10-->
| |
| Optional elements to a new '''survey''' include:
| |
| *Applicable answers to each question
| |
| *Modifiable labels (known as label sets)
| |
| *Conditions that determine whether a question should be asked
| |
| | |
| ==Survey name== <!--T:11-->
| |
| | |
| <!--T:12-->
| |
| The '''survey name''' provides the unique title to a '''survey''' and becomes the handle to access various option settings that apply to the survey as a whole. Settings such as the welcome message on the opening screen, the description of the survey, contact information for the survey administrator, and what format the questions are to be asked.
| |
| | |
| ==Question Groups== <!--T:13-->
| |
| | |
| <!--T:14-->
| |
| A '''survey''' requires each question to be a member of a '''group''' (and only that '''group'''). Depending on the number of questions in the survey, '''Groups''' can be used to define logical sections, common subject themes, or possibly pages on the screen. A group can have questions about a similar subject or simply be setup as a manageable number of questions.
| |
| | |
| <!--T:15-->
| |
| <div class="simplebox">'''Note''':<br />This whole chapter deals with '''question groups'''. Do not confuse a '''question group''' with a '''user group'''. Each is very different and used in different ways, based on the object being grouped.</div>
| |
| | |
| <!--T:16-->
| |
| A question '''group''' has a title and an optional description. You must have at least one '''group''' in each survey, even if you do not wish to divide the survey into multiple groups.
| |
| | |
| ==Questions== <!--T:17-->
| |
| | |
| <!--T:18-->
| |
| '''Questions''' are the core of your survey. There is no real limit to the number of '''questions''' you can have in your '''survey''' or in a '''group'''. '''Questions''' include the actual question text as well as settings that determine what form of answer you will accept. You can also specify a short 'help' explanation for each question and determine whether the question is mandatory (that is, must be answered) or optional. For more details check the [[Question types|question types]] section.
| |
| | |
| =Basics of navigating the survey administrative interface= <!--T:19-->
| |
| | |
| <!--T:20-->
| |
| The '''LimeSurvey''' tool presents horizontal tool bars to the survey creator in their web browser. These toolbars are the header of a window allowing interaction.
| |
| | |
| ==Administrative Tool Bar== <!--T:21-->
| |
| | |
| <!--T:22-->
| |
| The top toolbar is usually the '''Administrative Tool Bar''' providing top level, global actions. One of the key items there is the drop down list of surveys along with a '''Create New (Survey)''' button [[File:CreateSurvey-button.png]] ; if available and enabled for your login account. Both are on the right side of the toolbar.
| |
| | |
| <!--T:23-->
| |
| [[File:SystemAdmin.png]]
| |
| | |
| <!--T:24-->
| |
| <div class="simplebox">'''Hint''':<br />Want to know more about a particular icon button in a tool bar? Hover over the icon to see its name or click on the Help button [[File:help-button.png]] in the '''Administrative Tool Bar''' to see a description of icons in the currently active toolbar.</div>
| |
| | |
| <!--T:25-->
| |
| If the '''Administrative Tool Bar''' does not appear to be on top, click the home button [[File:button-home.png]] to get back to it. The Labelset [[File:button-labelset.png]] and Template [[File:button-template-editor.png]] editors, available in this tool bar, are the only ones that can replace the '''Administrative Tool Bar'''.
| |
| | |
| <!--T:26-->
| |
| By clicking the '''Create New (Survey)''' button [[File:CreateSurvey-button.png]] or selecting an existing survey, you minimize the Administrative window and open a new tool bar below to manage the '''Survey'''.
| |
| | |
| <!--T:27-->
| |
| [[File:GroupToolbarSmall.png]]
| |
| | |
| ==Survey Tool Bar== <!--T:28-->
| |
| | |
| <!--T:29-->
| |
| Similar to before, one can click on the drop down list of question '''Groups''' or on the '''Create New (Group)''' button [[File:CreateSurvey-button.png]] on the '''Survey''' toolbar. Either selection will bring up the question '''Group''' toolbar below the '''Survey''' toolbar.
| |
| | |
| <!--T:30-->
| |
| [[File:SurveyToolbarSelectGroupSmall.png]]
| |
| | |
| ==Group Tool Bar== <!--T:31-->
| |
| | |
| <!--T:32-->
| |
| In the Question Group, you can click on the drop down list of '''Questions''' or click the '''Create New (Question)''' button [[File:CreateSurvey-button.png]] to add a fourth toolbar to now edit a '''Question'''.
| |
| | |
| <!--T:33-->
| |
| [[File:GroupToolbarSelectQuestion.png]]
| |
| | |
| ==Common Buttons== <!--T:34-->
| |
|
| |
|
| <!--T:35-->
| | ==Create a new survey== |
| In these nested toolbars are some common, navigational buttons. There is an '''Edit''' button [[File:edit-button.png]] to edit the object you selected. By default, you will be put in the editor if you create the object. There is a '''Delete''' button [[File:delete-button.png]] to delete the object. For '''Groups''' and '''Questions''', there is a '''Reorder''' button [[File:change-order-button.png]] to change the order the object appears in during the survey execution. Finally, there is an '''Export''' button [[File:export-button.png]] to export a survey, question group or question that you can import back into another survey. Note that the '''Create''' button [[File:CreateSurvey-button.png]] also allows you to import a previously exported object.
| |
|
| |
|
| <!--T:36-->
| | ==Import a survey== |
| [[File:QuestionToolbar.png]]
| |
|
| |
|
| <!--T:37-->
| | ==Copy a survey== |
| Finally, there are two to three small buttons to the far right [[File:CommonButtons.png]] to minimize, maximize, and close the window of a toolbar. The maximize button will take you back to the summary window of the currently selected object.
| |
|
| |
|
| <!--T:38-->
| | ==List surveys== |
| As seems natural, the window of the current toolbar is automatically minimized when you select a lower level object to edit. Only the current toolbar and its window can be closed. You can open a previous toolbar and window by clicking on its maximize button. And you can jump around by selecting or creating a new object in another toolbar without having to close the currently open window first.
| |
|
| |
|
| <!--T:39-->
| | =Survey groups{{NewIn|3.0}}= |
| We will discuss navigating through a survey itself later on in the section on testing the survey.
| |
|
| |
|
| =Survey settings= <!--T:40--> | | =Examples= |
|
| |
|
| <!--T:41-->
| |
| Now that we have some basics down, lets move on and create our first survey. When doing so, we first have to define the basic [[Survey settings|survey settings]].
| |
| </translate> | | </translate> |


