Algemene instellingen
From LimeSurvey Manual
Inleiding
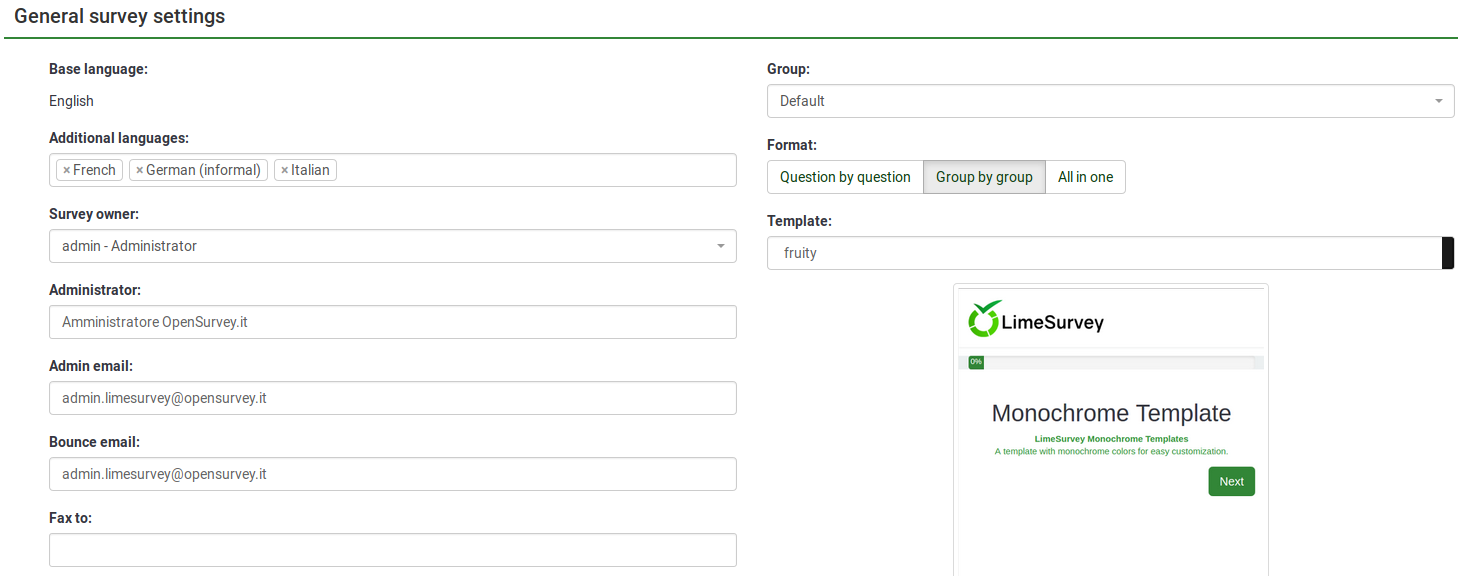
In het paneel algemene instellingen van een enquête kun je basis informatie wijzigen zoals de eigenaar, het e-mailadres van de enquête-beheerder en het gebruikte sjabloon.
Paneel algemene instellingen
The following functionalities can be edited from the general settings panel:

- Standaardtaal: De hoofdtaal van de enquête. De standaardtaal komt overeen met de standaardtaal van de website. Deze kan worden gewijzigd in de globale instellingen van LimeSurvey door de hoofdbeheerder.
- Additionele talen: Er kunnen talen worden toegevoegd aan de enquête. Dat doe je als je een meertalige enquête wilt maken. Als je bijvoorbeeld Engels, Duits en Roemeens wilt gebruiken dan zijn Duits en Roemeens additionele talen (want Engels is dan de standaardtaal). De hoofdbeheerder kan besluiten om niet alle talen beschikbaar te stellen in de globale instellingen van LimeSurvey.
- Eigenaar enquête
- Beheerder
- E-mail beheerder
- Bounce email: This is the email address where the delivery error notification emails (bounced emails) will be sent to.
- Fax to: This field is used to give a fax number on the "printable survey" - i.e.: when you want to send someone a hard copy because he or she cannot use the online survey;
- Group (New in 3.0 ): Select the survey group the newly created survey should be added to;
- Format: It allows you to choose the way in which the questions will be displayed to the survey respondents. Three options are available:
- Question by Question : The questions will be displayed one by one (one question per page). If this option is picked up, a separate "welcome" page and "end" page will be displayed when taking the survey;
- Group by Group : Each survey page will display a question group. Also, a separate "welcome" page and "end" page will still be displayed when taking the survey, as in the "Question by Question" surveys;
- All in one : If chosen, all the pages will be displayed on a single page. If you select this option, no separate pages exist for the "welcome" and "end" pages - they will all appear on the same page, together with the questions.
- Template: You can select from the drop-down list the desired template. The default one is rather simple, but functional. More information on creating your own templates is available here.