Panel integráció
From LimeSurvey Manual
Bevezetés
Ezen a lapon adhatja meg azokat az URL-paramétereket, amelyeket a felmérés elfogad. (Ezek a paraméterek az általános felmérés kezdő URL-jéhez lesznek csatolva). Ez a lehetőség akkor fontos, ha a felmérést egy professzionális felmérési panelszolgáltatóval szeretné integrálni, amely biztosítja a résztvevőket az Ön számára. Ez utóbbi általában minden felmérésben résztvevő egyedi azonosítóját adja meg, és ezeket az egyedi azonosítókat további hivatkozás céljából el kell mentenie.
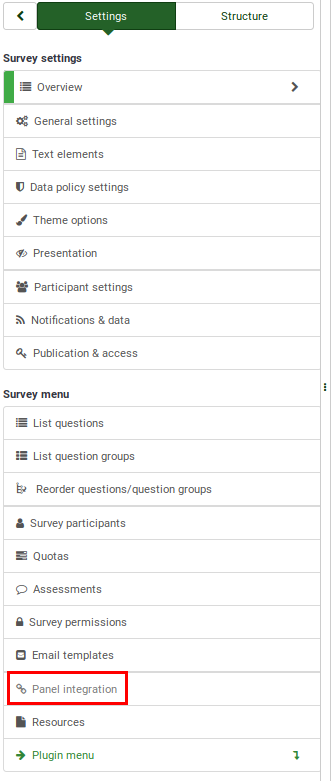
A felmérés panelintegrációja: Felmérés menü > Felmérés menü > Panelintegráció

Felmérési panel integráció
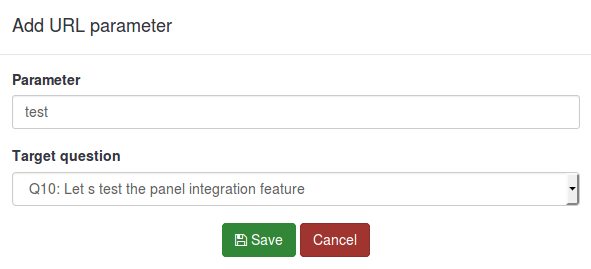
Megjelenik egy üres táblázat azzal a lehetőséggel, amely lehetővé teszi „URL-paraméter hozzáadását”.

Két mezőt kell kitölteni:

- Paraméter: Írja be ebbe a mezőbe az új paraméter nevét.
- Célkérdés:. A paraméter értéke mindig mentésre kerül a felmérési munkamenetben, még akkor is, ha itt nem ad meg célkérdést. Itt kiválaszthatja a "Szöveg rendezése" vagy "Többszöveg" típusú kérdést.
A panelintegrációs funkció használata
Az alábbiakban bemutatunk egy egyszerű példát, amely elmagyarázza a panelintegrációs funkció használatát.
1) Először hozzon létre egy 'rövid/hosszú szabad szöveges kérdést, és nevezze el, ahogy akarja (a Kérdéskód mezőben az "LS"-t fogjuk használni). Ezután engedélyezze a kérdés menüjének Megjelenítés fül alatti mindig elrejteni ezt a kérdést opciót.
2) Lépjen a panelintegráció lapra, és kattintson az "URL-paraméter hozzáadása" gombra.
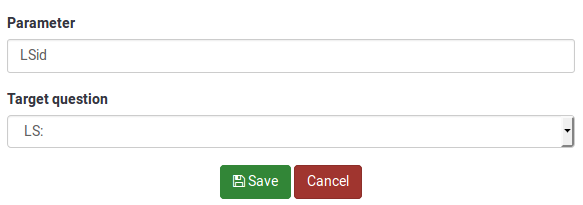
Válassza ki az első lépésben létrehozott rövid/hosszú szöveges kérdést. Azok a résztvevők, akik az adott szakmai panelszolgáltatótól érkeznek, a célkérdésre kerülnek. Elrejthető, hogy a résztvevők megkezdhessék a kérdőív kitöltését.

A paraméterhez választott névnek szerepelnie kell a belépési hivatkozásban, amelyet később megad a panelszolgáltatónak. Példánkban "LSid" lesz a neve. Ne felejtsen el kattintani a táblázat jobb felső sarkában található 'Mentés' gombra!
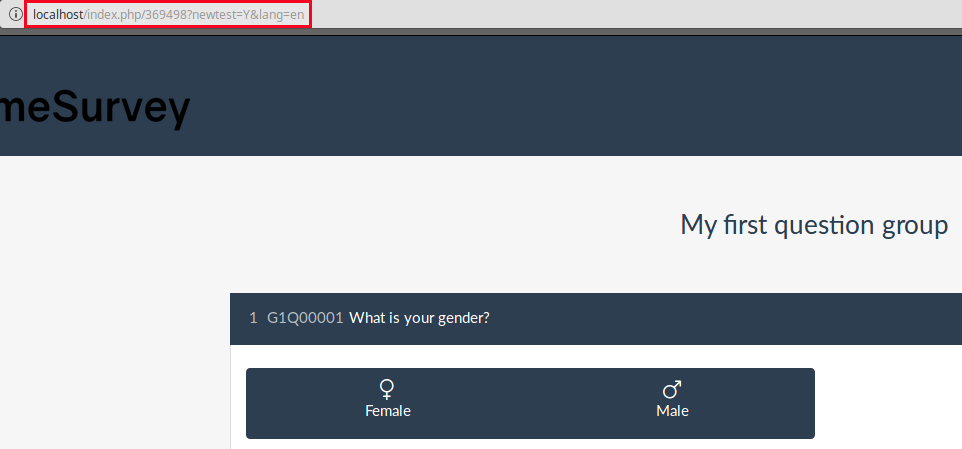
3) Most be kell állítania a belépési linket, amelyet elküld a panelszolgáltatónak. A felmérés URL-címének megtekintéséhez kattintson a Kérdés előnézete' gombokra.

Másolja ki a címsorból elért URL-t:

Add at the end the newly added parameter: &LSid="xxxxxx". The link should look like this:
http://localhost/index.php/369498?newtest=Y&lang=en&LSid="xxxxxx"
What ever you replace the "xxxxxx" with will be stored in the short/long free text question when your respondent lands on that page. For example, I sent to a user the following link:
http://localhost/index.php/369498?newtest=Y&lang=en&LSid=ABCD5
The string after LSid was stored as an answer to the short/long text question.

Examples
The following examples were created to help you add:
- Redirects if the respondents have finished filling out the survey;
- Redirects if the respondents were screened out due to a quota;
- Redirects link if the quota limit was reached.
The complete link
The complete link must be inserted into the end URL field that also has to be loaded automatically for everyone who successfully completes the whole survey.
The URL you have to send back to the panel provider should look like this:
https://panelproviderwebsite.com/?return=complete¶metername={PASSTHRU:parametername}
The screenout link
A screenout prevents the participants from continuing the survey because he or she is not a member of your survey target group. For screenouts, you have to set the quota limit field to "0" (zero) and allow the quota URL to be automatically loaded once it was triggered.
Then, add the following link into the quota URL field:
https://panelproviderwebsite.com/?return=screenout¶metername={PASSTHRU:parametername}
The quotafull link
A quotafull excludes participants from continuing the survey, because a certain quota has been exceeded.
https://panelproviderwebsite.com/?return=quotafull¶metername={PASSTHRU:parametername}