メニュー項目設定
From LimeSurvey Manual
概要
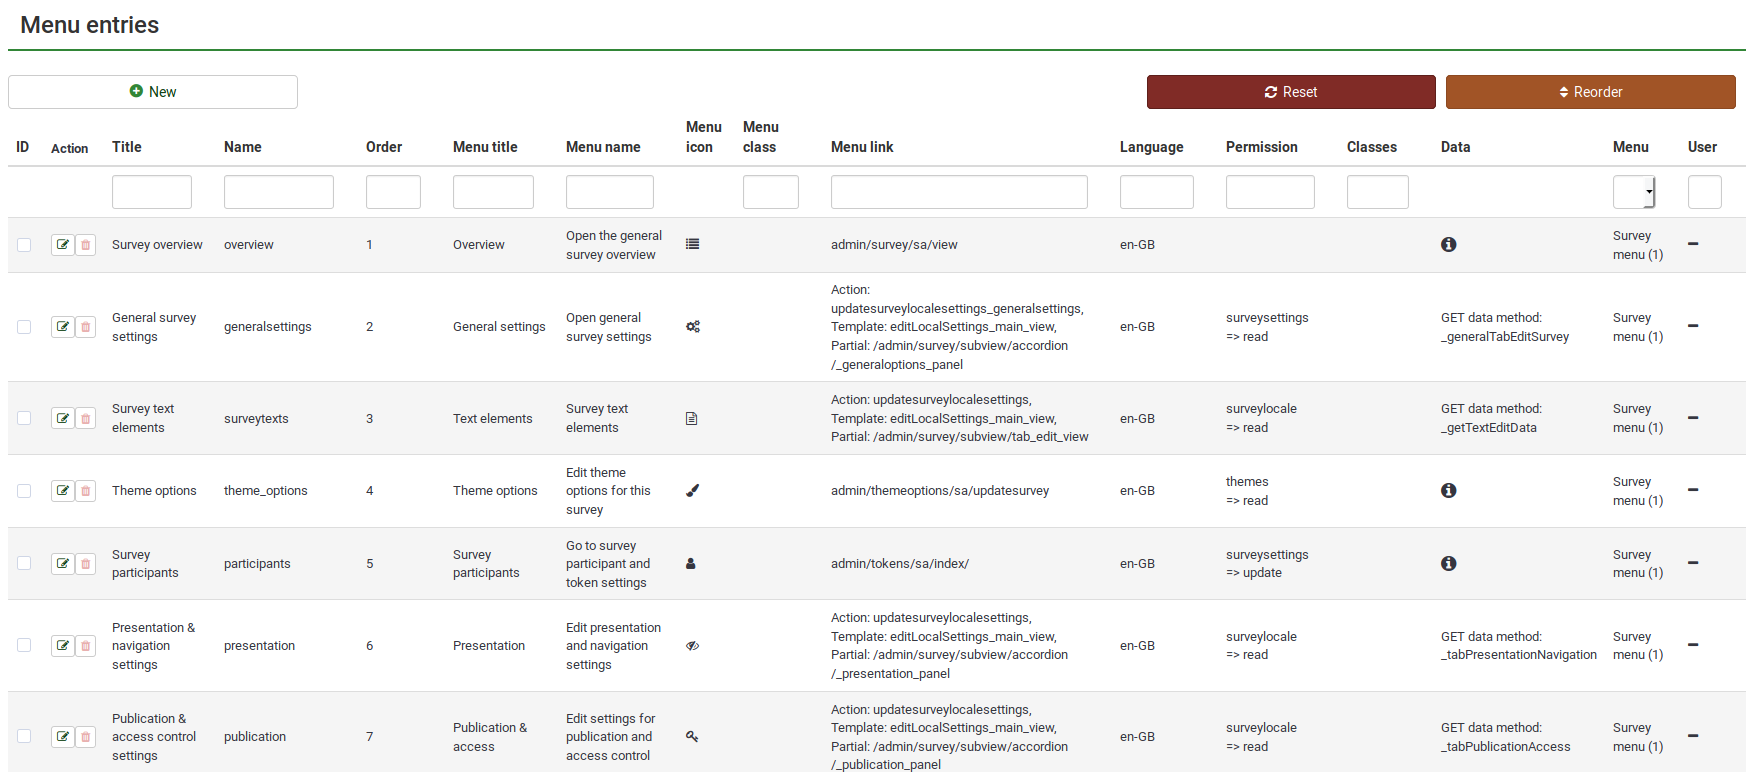
メニュー項目テーブルにアクセスするには、設定をクリックし、メニュー項目設定をクリックします。

この機能により、メニュー項目を作成、編集、削除することができます。表示するには、これらのエントリーをメニューに追加する必要があります。
メニュー項目設定

ユーザーは次の操作を実行できます。
メニュー項目を作成する
To create a new menu entry, click on the + 新規 button located on the top-left side of the window. Once clicked, you the following menu options will be displayed:
- メニュー: Select the menu where the new entry will be located (read our wiki on how to create menus here);
- 名前: Type in the name of the menu entry;
- 題名: The title of the respective entry which will be displayed in the menu or under certain tabs (e.g., under the survey settings tab)
- 並び順: If more menu entries are added to a menu, use this function to order them.
- メニュータイトル: Once you accessed a tab or a menu entry, the menu title will be displayed on the first line. For example, if you click on Overview which is located under the Survey settings tab, the overview panel will be displayed with the (menu) title: Survey overview
- メニュー名: It is displayed when you hover the mouse over the respective entry. For example, if you hover the mouse over Theme options, the following message will show up: Edit theme options for this survey.
- メニューアイコン: All the used icons are fontawesome icons by default. To find other available icons, check the following link. Introduce in the box the string located after "fa fa-". E.g., for a floppy disk, we have "fa fa-floppy-o". To use it as an icon for a menu entry, type in this box only "floppy-o".
- メニューアイコンタイプ: It depends on the ones used within your current theme. For further details, check the following wiki section.
- メニュークラス:
- メニューリンク: Link the menu entry to the URL of that function
- 権限:
- 権限レベル:
メニュー項目を編集する
既に存在するメニュー項目の詳細を変更する場合は、操作列の緑色のボタンをクリックします。それぞれのメニューが選択され、編集を行うことができます。
メニュー項目を削除する
メニュー項目を削除する場合は、それぞれのメニュー項目(操作列にある)に対応する赤いごみボタンをクリックします。
メニュー項目を並び替える
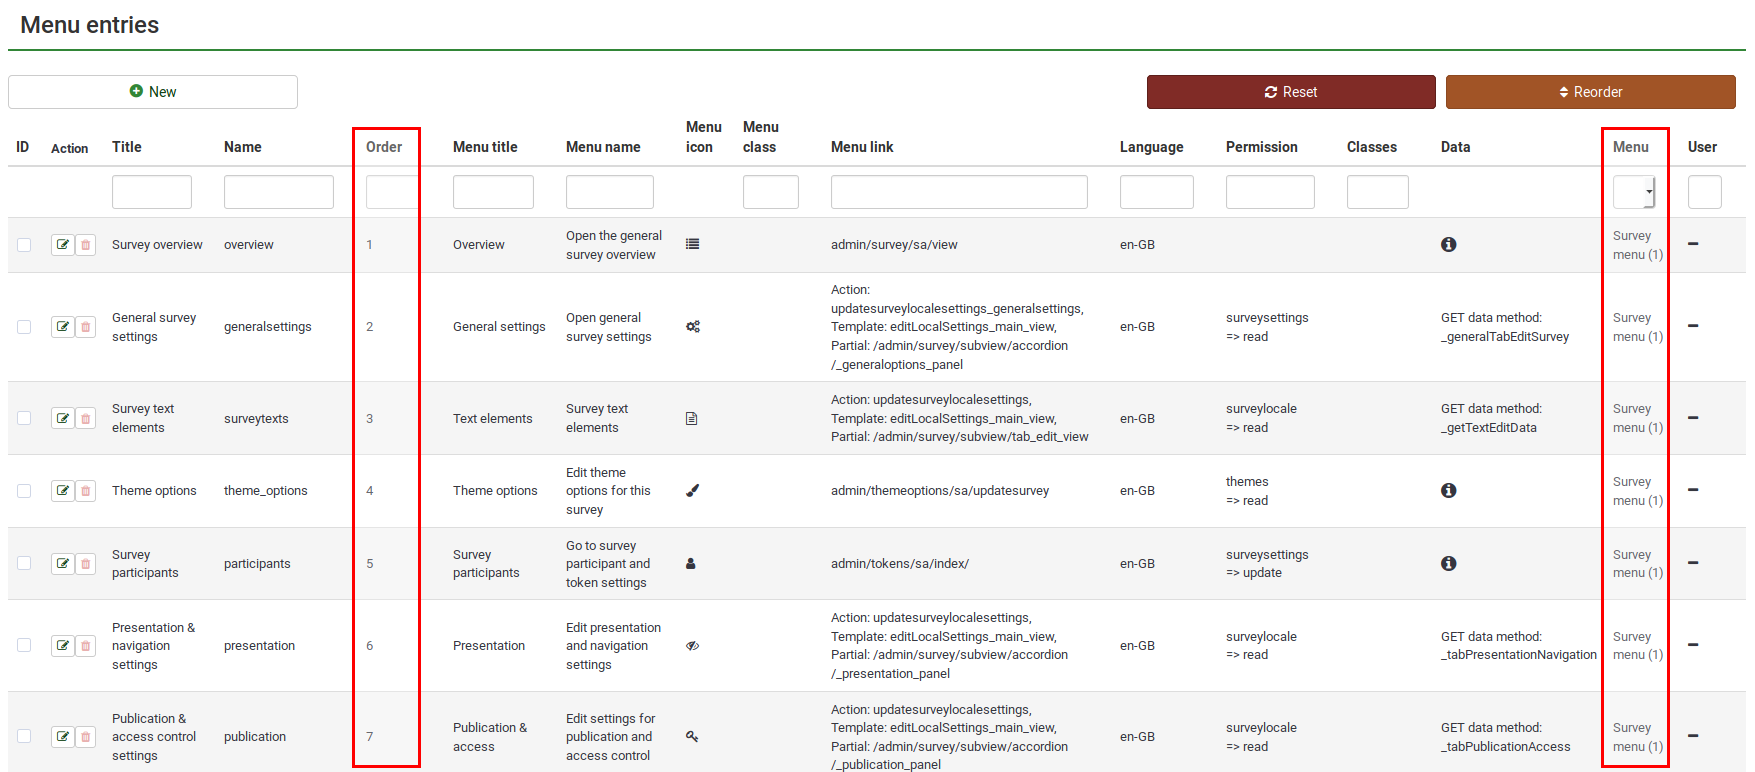
並べ替えのプロセスでは、項目が属するメニューが最初に考慮され、並び順フィールドの値に従って項目が並べられます。これらの値を変更したら、並べ替えボタンをクリックして、テーブル上の項目を並べ替えます。

メニュー項目を既定値にリセットする
If you wish to reset all the values of the survey menu entries to their default values, click on the reset button located in the upper right part of the screen. A message will pop up asking you to confirm the action. Please note that once you confirm the action, all the custom menu entries will be lost.
例
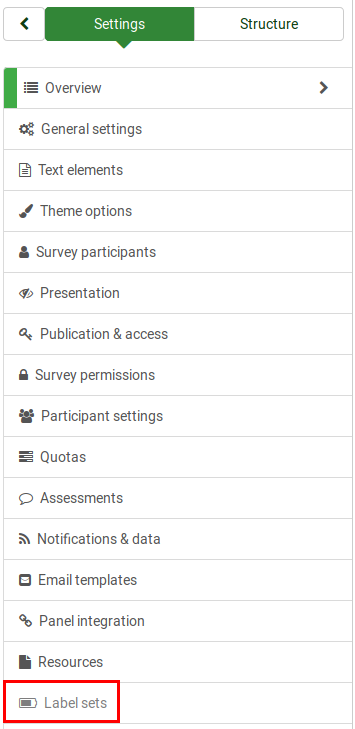
In this example, it will be shown how to add a Label sets menu entry to the default survey menu.
First, click on the + New button located on the top left side of the screen and start completing the fields:
- Menu: Select from the dropdown list the menu you wish to add to the menu entry.
- Name: labelsets.
- Order: 20.
- Menu title: Label sets.
- Menu name: "Click here to edit the available sets."
- Menu icon: Check the following link to find the right icon for the new menu entry. In the screenshot from above, I used "fa fa-battery-three-quarters".
- Menu icon type: Select from the dropdown box the "Fontawesome icon" option.
- Menu link: Find the URL of the option you wish to link the entry to, and copy everything after the website name (admin/labels/sa/view in our case):
Click on the create button and see if the new survey menu entry was added:

Once done, check the survey menu and see if the survey menu entry is functional:

When creating or editing a menu entry, you may find in the lower right part of the dialog the Toggle advanced options button. The following extra fields will be shown once you press it:
- Action
- Template
- Partial
- Classes
- Data
- Get data method
- Language
編集が完了したら、保存ボタンをクリックします。